




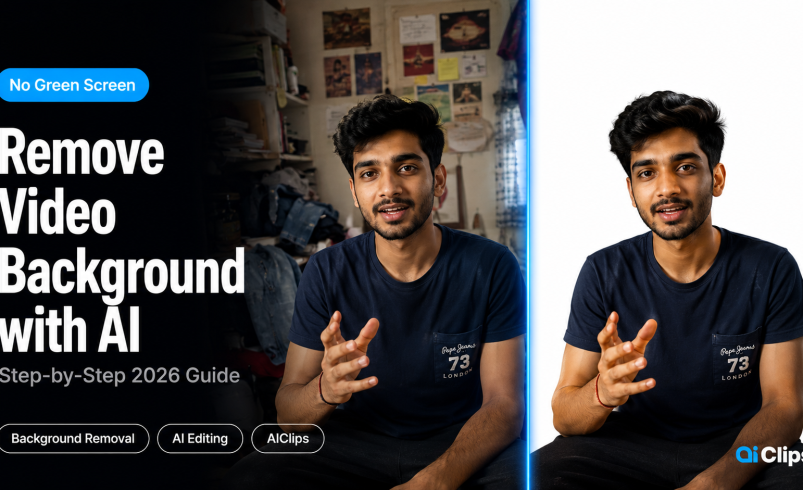

You do not need a green screen to remove video background from your footage anymore. The AI background remover on AIClips handles it in one click — no studio, no lighting rig, no green cloth. This guide shows you exactly how to do it and get clean results from any room.
Video background removal used to mean either renting a studio or wrestling with a wrinkled green screen and fighting the lighting. In 2026, an AI background remover does the job automatically. The technology has matured to the point where hair, edges, and moving subjects are handled accurately — things that used to require a professional roto artist.
| What it does | Removes the background from your video automatically using AI — no green screen needed. |
| Tool on AIClips | Background Remover app — unlimited use on Agency plan (₹999/month). |
| Output options | Transparent background (for compositing) or replaced with a new image or video background. |
| Best for | Talking-head videos, product demos, Reels, YouTube thumbnails, brand content. |
| When it struggles | Very cluttered backgrounds, low-contrast lighting, fast movement with loose clothing. |
Why Green Screens Are Dying in 2026
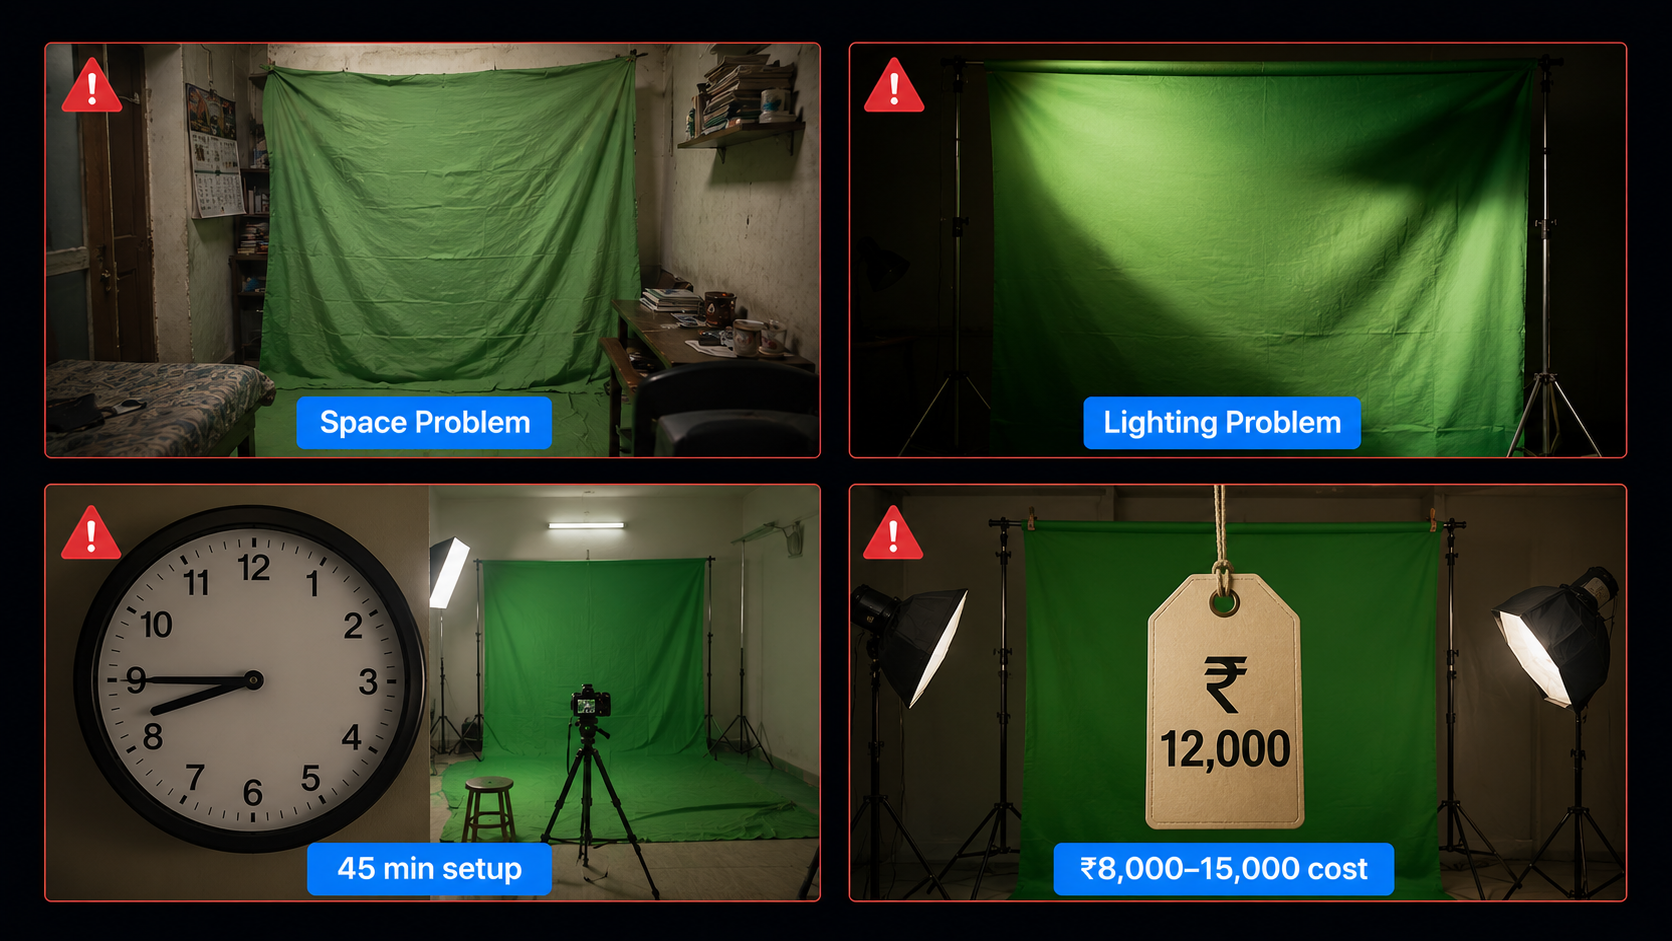
Green screens were never the ideal solution. They were the only solution available for a long time — and most Indian creators could not use them properly anyway.
Here is the real problem with green screens for a typical creator in India:
- Space. You need at least 1.5–2 metres between you and the screen to avoid colour spill on your clothes. Most Indian home setups do not have that room.
- Lighting. The screen needs to be lit separately and evenly. Uneven lighting creates shadows that the keying software cannot remove cleanly. Getting this right requires equipment most creators cannot justify buying.
- Time. Setting up, lighting, filming, and tearing down a green screen setup adds 45–60 minutes to every shoot. That is before you spend time in post-production fixing spill and edge artefacts.
- Cost. A proper backdrop, stands, and the extra lights cost ₹8,000–15,000 minimum. A good key requires consistent lighting every single time.
The AI background remover does not have any of these constraints. You film anywhere, upload the footage, and the model handles the rest. For most creator use cases in 2026, the green screen is no longer worth the trouble.
How AI Video Background Removal Works
This is brief — you do not need a deep technical understanding to use the tool, but knowing the basics helps you set up your shots correctly.
Modern video background removal uses semantic segmentation — a deep learning technique where the model classifies every pixel in every frame as either subject (keep) or background (remove). Unlike older chroma-key methods that removed colour, AI removes based on what it understands is in the scene. It knows what a person looks like, what a product looks like, and what a background looks like.
This is why the green screen alternative approach is genuinely better for complex subjects. Hair, glasses, earrings, loose fabric — the AI understands depth and subject boundaries, not just colour values. The weakness is temporal consistency across frames — if the background and foreground are very similar in colour or brightness, the model can occasionally flicker between frames.
What to Film for the Best Results
Before you upload anything to the AI background remover, the footage you bring in matters. These filming tips will dramatically improve the quality of your output.
Lighting — The Single Most Important Factor
The AI separates subject from background based on contrast. More contrast between you and your background = cleaner removal.
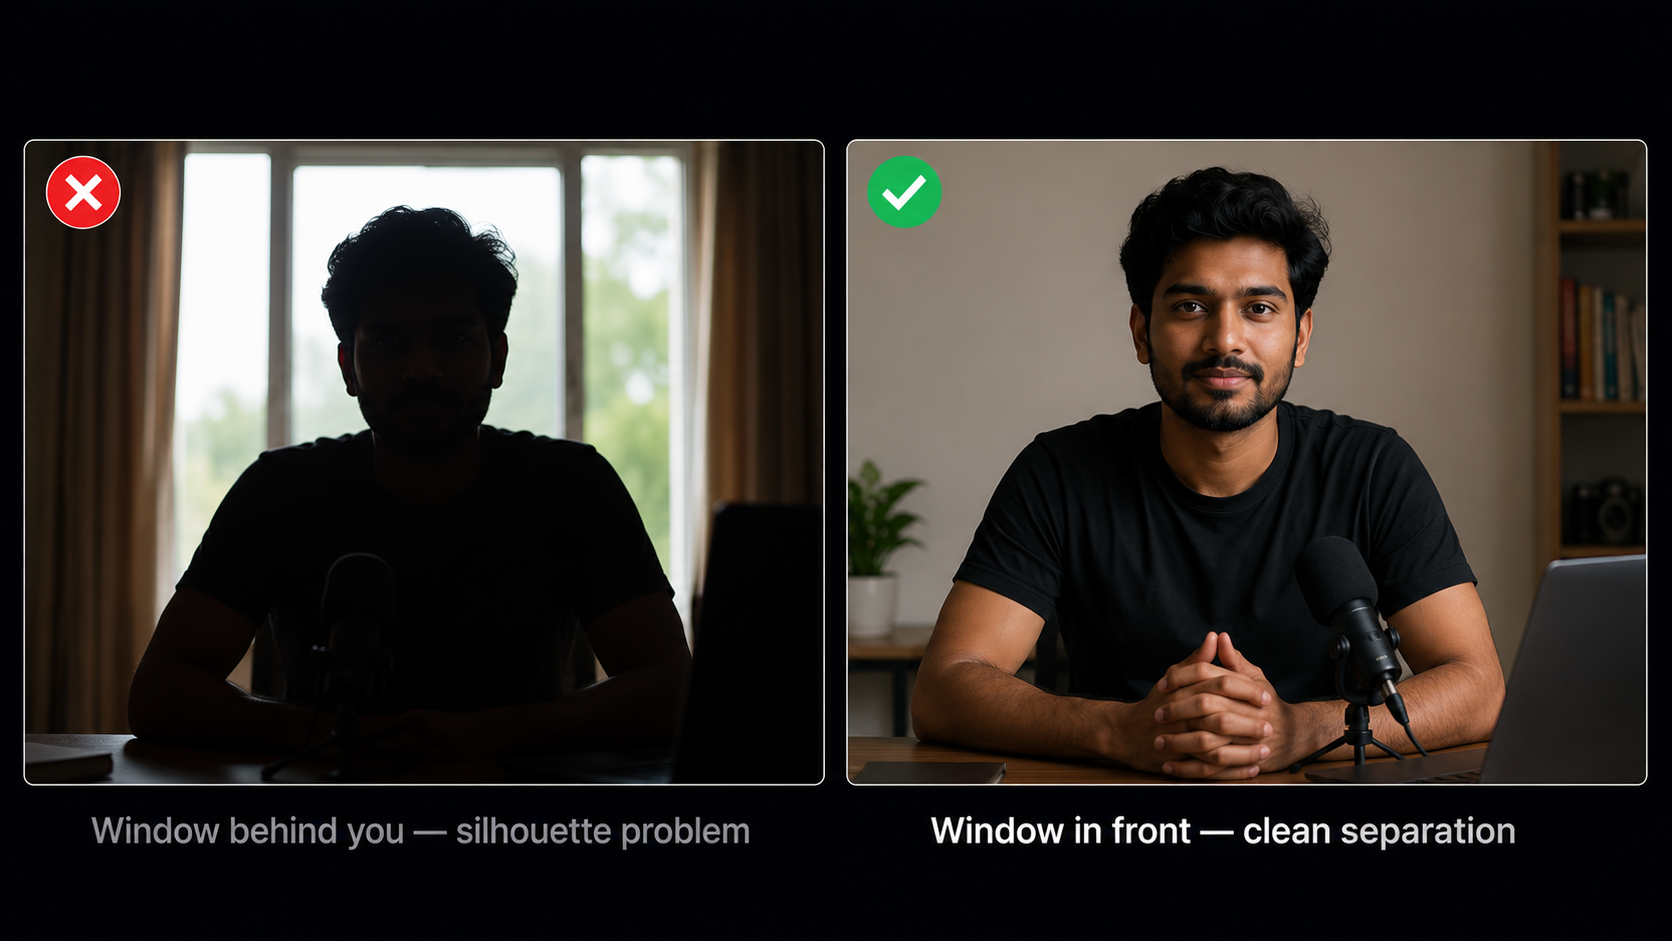
- Film facing a window or light source so your face is well lit and brighter than the background behind you
- Avoid sitting directly in front of a window — this makes you a silhouette and the model struggles
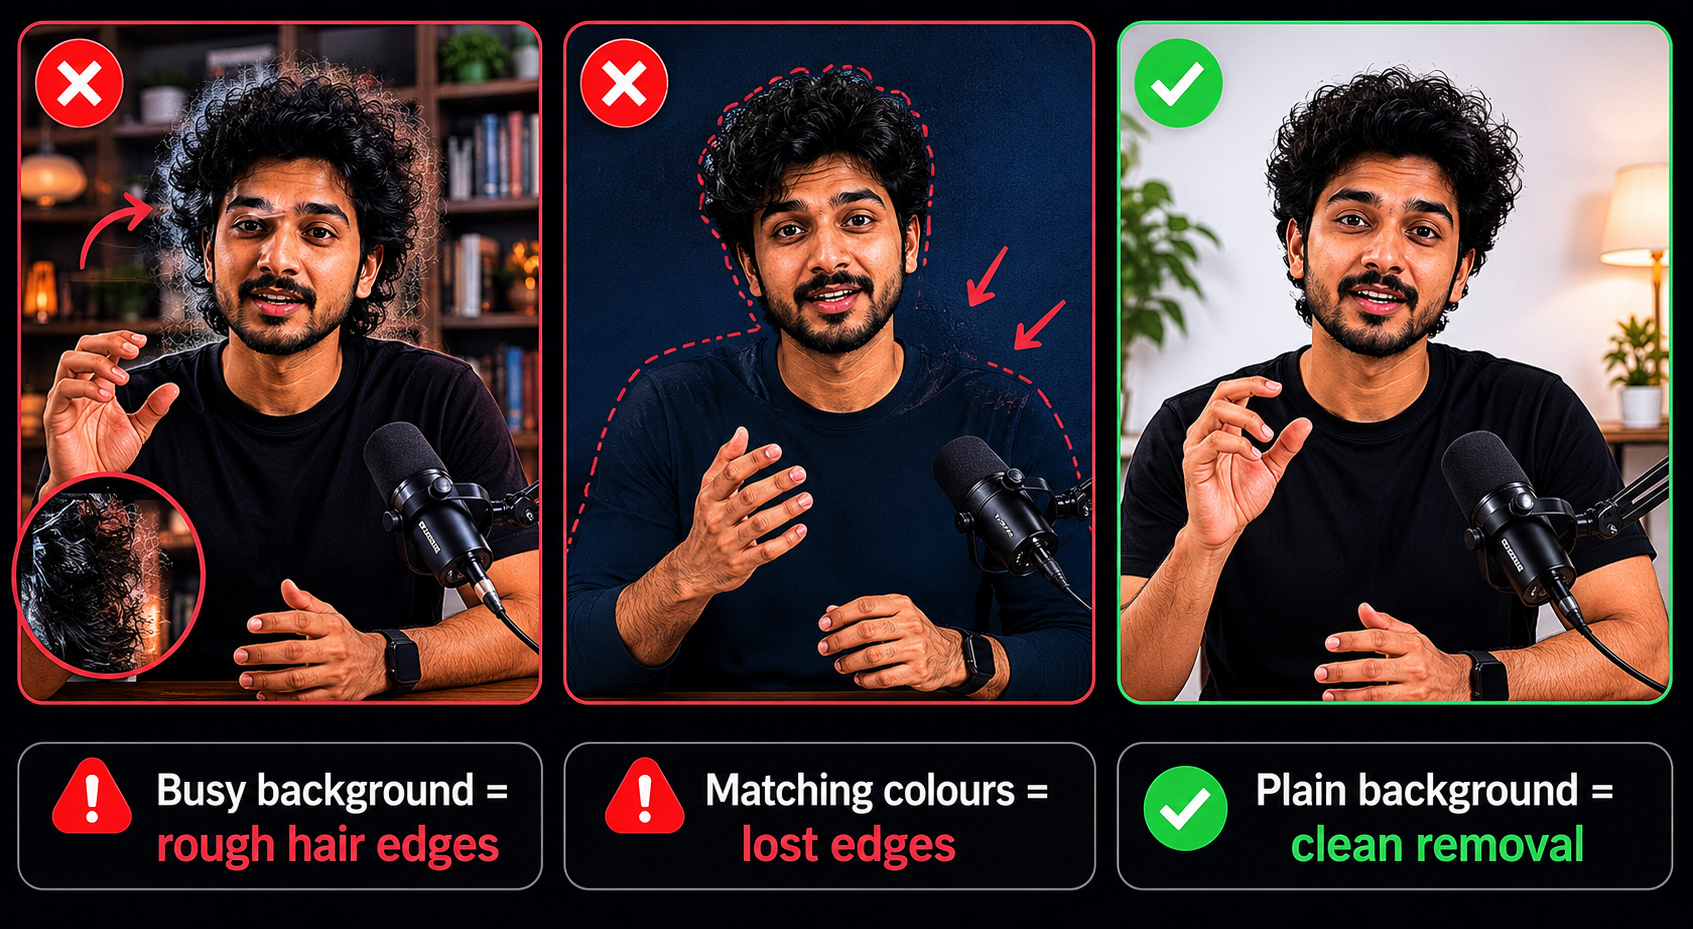
- A plain or low-texture wall behind you makes removal significantly cleaner than a cluttered bookshelf or busy room
- Avoid wearing clothing that is the same colour as your background — this confuses the edge detection
Camera Setup
- Keep your distance from the wall behind you — at least 1 metre if possible. This creates natural depth separation.
- Film in the highest resolution your phone or camera supports. More pixels = cleaner edge detection around hair.
- Keep the camera still. Handheld shake does not prevent removal, but it makes compositing the final video harder.
What to Avoid
| Avoid This | Why It Causes Problems | Alternative |
|---|---|---|
| Patterned or busy walls behind you | The AI struggles to find a clean edge between you and complex patterns | Move in front of a plain wall or door |
| Low or harsh single-direction lighting | Creates strong shadows that the model interprets as part of the background | Use soft, even light from the front |
| Matching clothing to background | Model cannot distinguish the edge between your shirt and the wall | Wear a contrasting colour to your background |
| Very fast or jerky movements | Motion blur at edges confuses frame-by-frame segmentation | Move deliberately and smoothly on camera |
Upload Your Video to AIClips Background Remover
Go to app.aiclips.net → Apps → Background Remover.
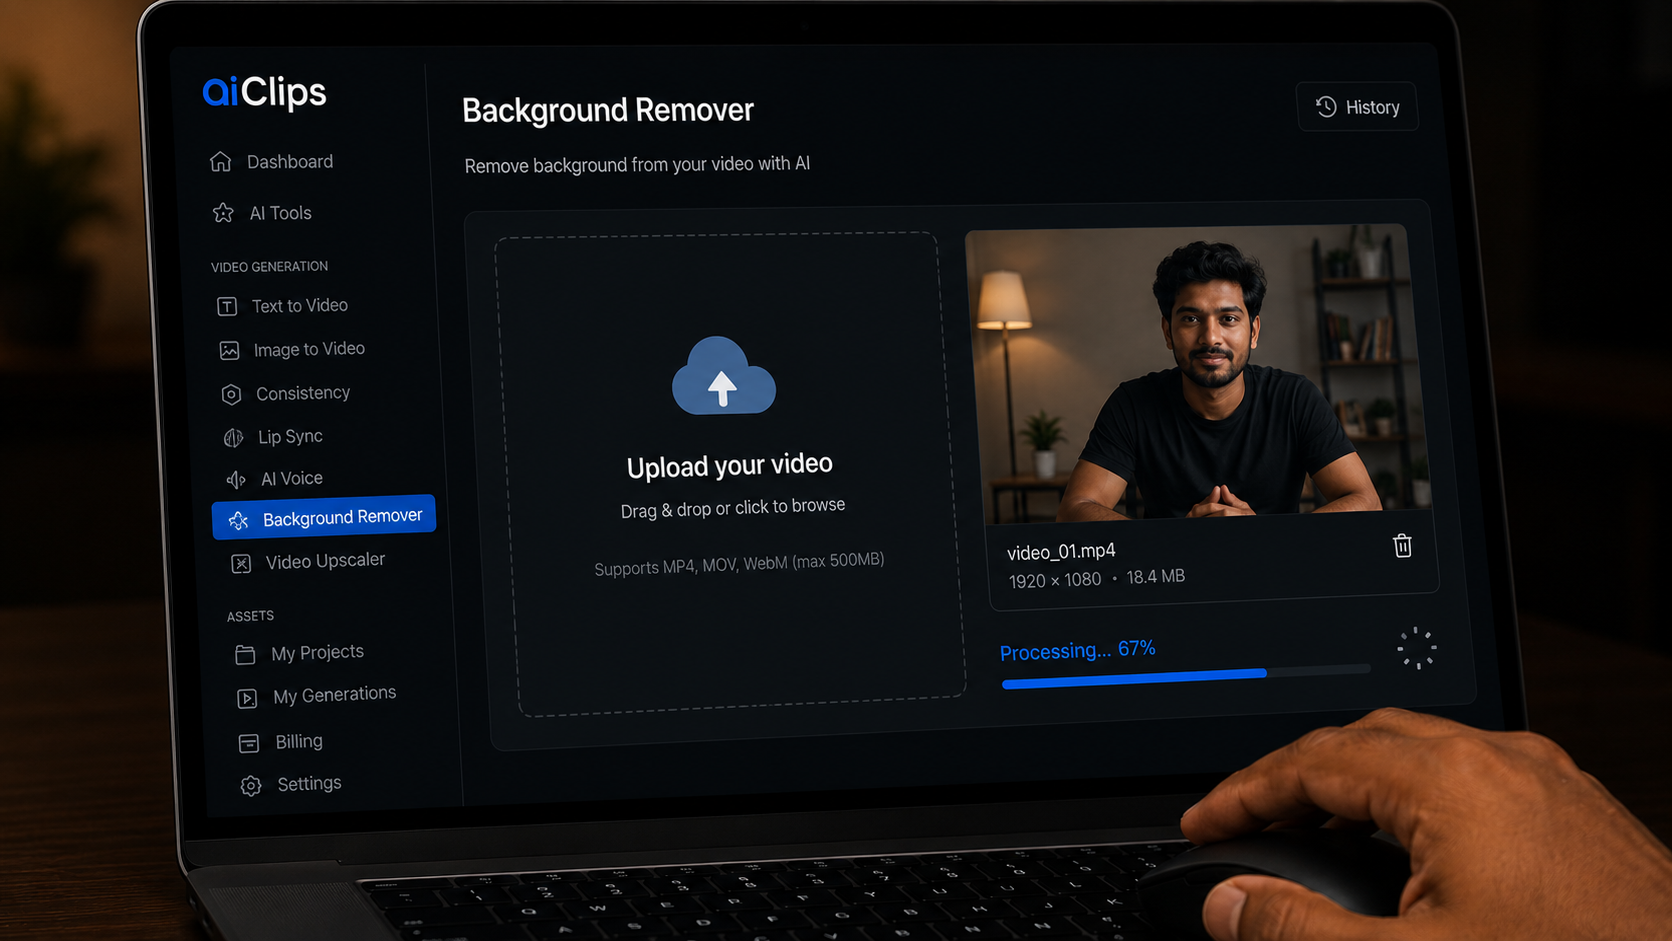
The tool accepts MP4, MOV, and most common video formats. Upload your clip directly from your phone or computer. There is no file size limit listed on the interface — for clips over 2–3 minutes, it is faster to split the footage into sections and process each one separately.
Once uploaded, the AI background remover processes the footage frame by frame. For a 60-second clip, processing typically takes 90–120 seconds depending on resolution.
Choose Your Output — Transparent or Replaced Background
After the AI finishes processing, you have two options for the output:
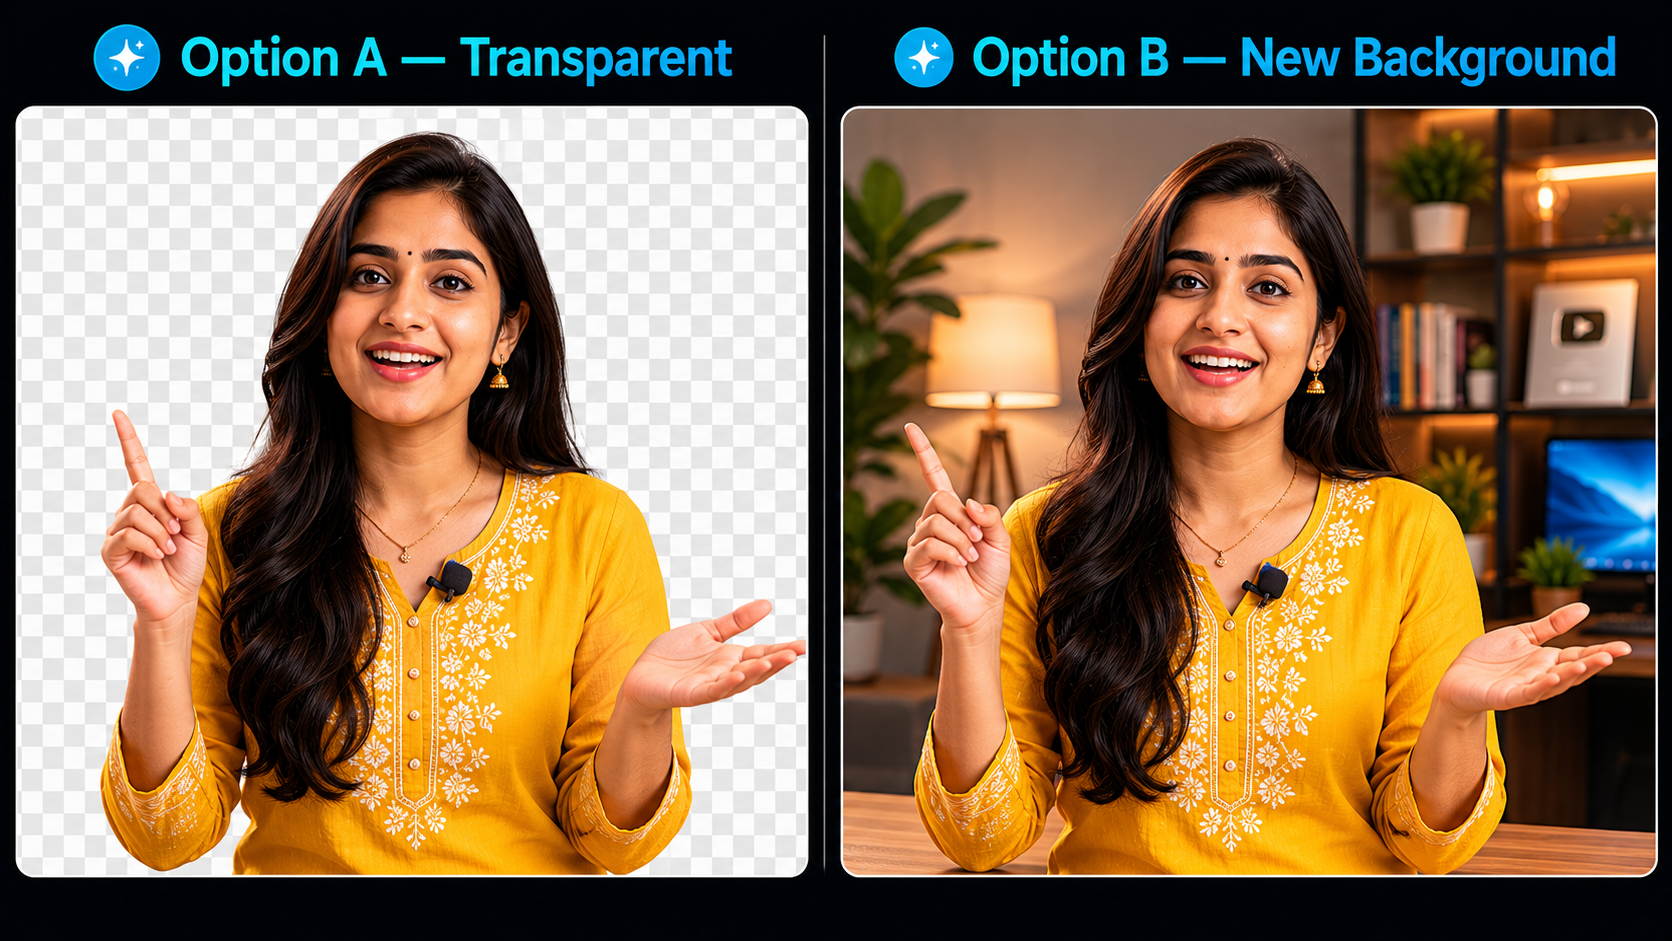
Option A — Transparent Background
The tool exports your subject on a transparent background (alpha channel). You get a clean cutout of your subject that you can composite over any background in a video editor. This is the most flexible option — use it if you plan to add a custom background, branded scene, or motion graphics behind you in CapCut, DaVinci Resolve, or Premiere.
Option B — Replace with a New Background
You can directly upload a replacement background image or video inside the tool. The AI background remover places your subject on the new background and exports the final video ready to post. Faster workflow, but less control over compositing quality.
| Output Type | Use When | File Format |
|---|---|---|
| Transparent background | You want to composite in a video editor with full control | WebM with alpha or PNG sequence |
| New background applied | Quick workflow, posting directly without editing | MP4 |
| Solid colour background | Brand videos, product demos, consistent look across multiple clips | MP4 |
Composite in Your Video Editor
If you chose the transparent output, here is how to composite it in the most common editors Indian creators use.
CapCut (Mobile)
- Create a new project → add your replacement background video or image as the base layer
- Tap the + button → add your transparent video clip on top
- Select the top clip → tap Blend → choose Normal or Multiply depending on your background
- Adjust the scale and position so you are centred on the new background
- Export at the highest resolution available
DaVinci Resolve (Desktop)
- Import both your transparent clip and your new background into the media pool
- Place the background on Video Track 1, your transparent clip on Video Track 2
- DaVinci automatically composites the alpha channel — no extra steps needed
- Apply any colour grading to match the subject lighting to the new background
When AI Background Removal Fails — and What to Do
The AI background remover on AIClips handles most common creator footage well. But there are scenarios where it struggles. Knowing these in advance saves you from wasted processing time.
| Problem | Why It Happens | Fix |
|---|---|---|
| Flickering edges between frames | Low contrast between subject and background causes the model to change its edge decision frame-by-frame | Re-film with better lighting and a more contrasting background |
| Hair disappearing or looking rough | Fine hair strands are the hardest edge case for any AI background remover — especially with busy backgrounds behind you | Film against a plain wall. The simpler the background, the better the hair detail is preserved. |
| Clothing merging with background | Your outfit is a similar colour to the wall behind you | Change your clothing or move to a different background |
| Hands disappearing during product demos | Model loses track of fast-moving foreground elements against certain backgrounds | Move your hands slowly and deliberately when demonstrating a product |
| Background partially remaining | Very cluttered backgrounds have elements that the model cannot confidently classify | Try a different, simpler background for that shot |
AIClips vs Other Video Background Removal Tools
| AIClips | Canva Pro | VEED Pro | |
|---|---|---|---|
| Video length limit | No stated limit | Under 90 seconds only | Up to 4 hours |
| Transparent output | ✓ Yes | ✓ Yes | ✓ Yes |
| INR pricing | ✓ ₹999/month unlimited | ✗ USD only | ✗ USD only |
| Other AI tools included | 600+ models | Design tools only | Video editing tools |
| Product photo removal | ✓ Bria RMBG 2.0 | ✓ Yes | ✗ Video only |
| ProductShot AI included | ✓ Yes | ✗ | ✗ |
For a complete walkthrough of turning a plain phone photo into a studio-grade product shot after removing the background, read the ProductShot AI guide. And if you want to build a full Reel from scratch using background removal as one step in the process, the Script to Reel in 30 Minutes workflow covers the complete pipeline.
Frequently Asked Questions
Can I remove video background without a green screen on AIClips?
Is AIClips Background Remover free?
What video format does the AI background remover accept?
Why does hair look rough or disappear after background removal?
What is the difference between the Background Remover and Bria RMBG 2.0 on AIClips?
Can I replace the removed background with a video instead of an image?
Remove Video Background on AIClips
No green screen. No studio. Clean video background removal in one click. Starts at ₹349/month.
Try AIClips Background Remover →